How to Mint Moonbirds

Table of Contents
Moonbirds is a well-known Ethereum NFT collection that became one of the most discussed NFT launches during the 2022 NFT boom. Many NFT enthusiasts want to understand how the original mint process worked and how future mint events—or similar NFT launches—typically operate. This article is for informational purposes and does not constitute financial advice. Before participating in any NFT mint, always Do Your Own Research (DYOR) and understand the risks involved.
For more insights and updates on the latest cryptocurrency trends, be sure to check out our Nifty Finances platform, your gateway to smarter financial decisions in the digital economy.
What Is Moonbirds?
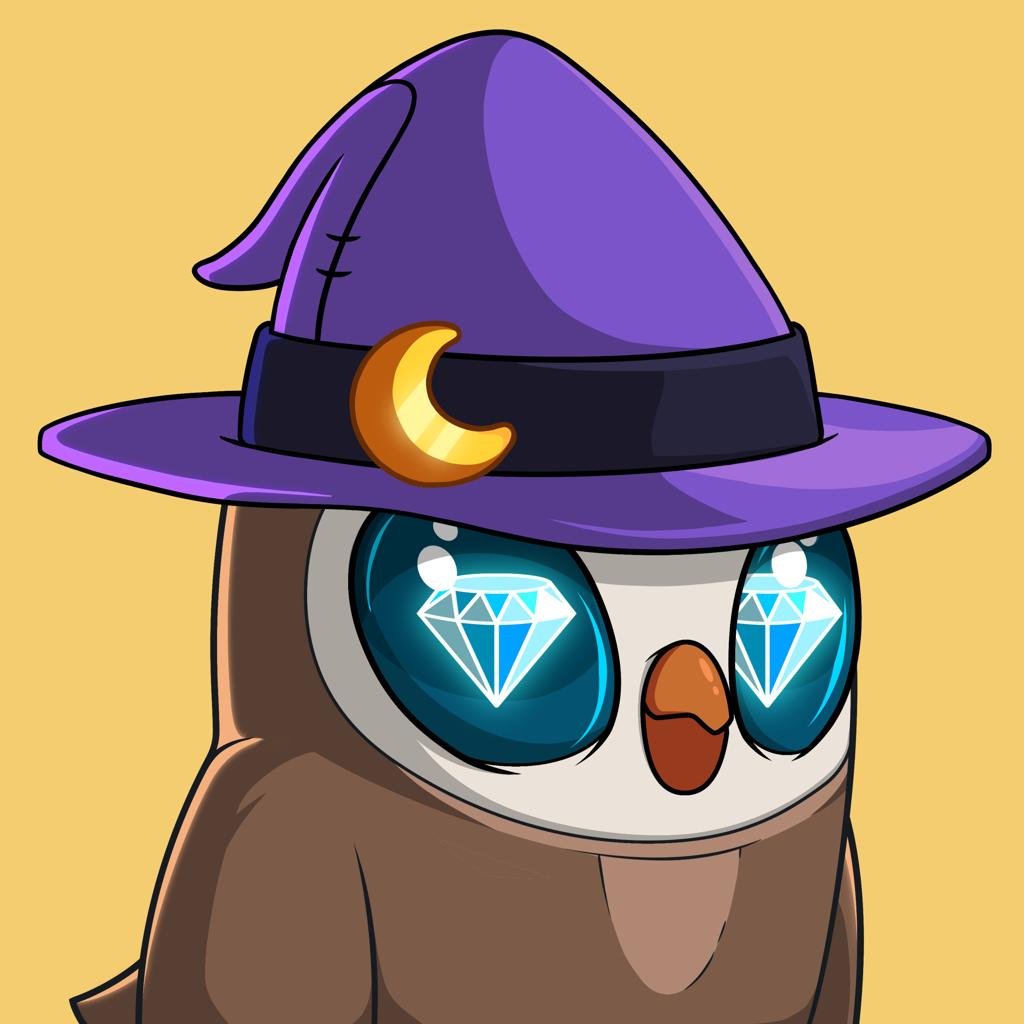
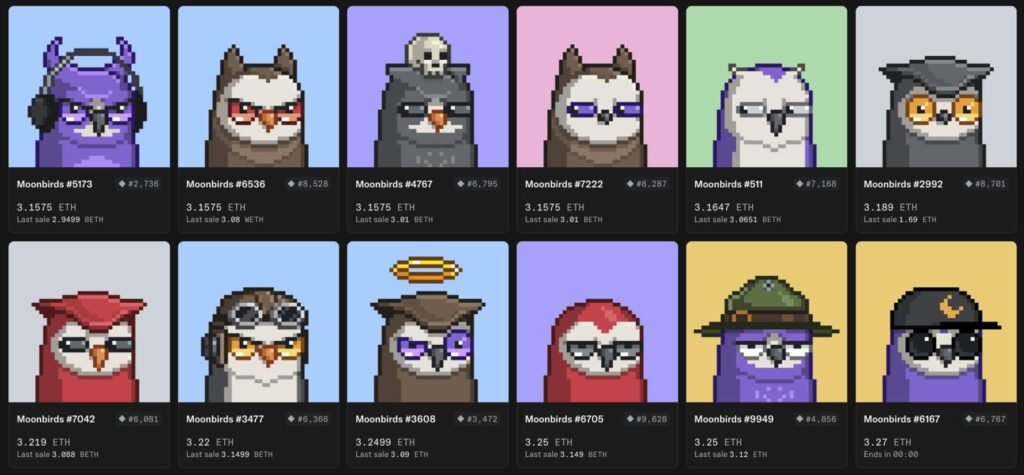
Moonbirds is a collection of 10,000 owl-themed profile picture NFTs built on the Ethereum blockchain. The project was created by Kevin Rose through PROOF Collective, a Web3 community focused on NFTs, digital art, and blockchain-based ownership.
Within the Ethereum NFT ecosystem, Moonbirds became known for combining collectible artwork with community access, holder perks, and ecosystem participation.
Like many profile picture NFT collections, ownership is recorded directly on-chain, allowing buyers to prove ownership through blockchain verification.
How to Mint Moonbirds
Minting a Moonbirds NFT generally involves preparing a compatible crypto wallet, funding it with Ethereum, accessing the official mint page, and confirming an on-chain transaction.
Although Moonbirds’ original mint has already concluded, understanding how it worked can help beginners learn how NFT mint events usually operate. NFT mints often involve allowlists, limited supply, blockchain transaction fees, and high demand, which can create competition during launch.
Before joining any mint, participants should verify official project details and prepare for potential gas fees and network congestion.
How the Original Moonbirds Mint Worked
Moonbirds originally launched using a structured mint process that balanced community access with broader public participation.
The launch included three main participation groups:
- PROOF Collective members, who received guaranteed mint allocations
- Allowlisted participants, who qualified for reserved mint access
- Public buyers, who competed for the remaining supply
The original mint price was approximately 2.5 ETH per NFT, excluding Ethereum gas fees. At the time, this represented roughly $7,500–$8,000, depending on ETH market prices.
Because demand was extremely high, available NFTs sold out quickly after launch.
Set Up a Compatible Crypto Wallet
Before minting any Ethereum NFT, users need an Ethereum-compatible wallet.
Popular wallet options include browser-based wallets such as MetaMask or hardware wallets for additional security.
Setting up a wallet generally involves:
- Installing wallet software or hardware
- Creating a wallet address
- Backing up the recovery phrase
- Securing private keys offline
Recovery phrases and private keys should never be shared. Anyone with access to these credentials can control wallet assets.
Hardware wallets provide stronger protection by keeping keys offline.
Fund Your Wallet With ETH
Since Moonbirds are minted on Ethereum, participants needed ETH in their wallets before minting.
Users typically purchased ETH from crypto exchanges such as Coinbase or Binance and transferred it to their wallet.
Wallet balances needed to cover:
- NFT mint price
- Ethereum gas fees
- Extra buffer for network congestion
Gas fees can increase sharply during popular NFT launches because many users compete to submit transactions simultaneously.
Access the Official Mint Website
To mint an NFT, users usually visit the project’s official mint website.
The general process involves:
- Opening the official mint page
- Verifying the website URL carefully
- Clicking Connect Wallet
- Selecting a wallet provider
- Approving the wallet connection
Verifying the URL is critical because phishing websites frequently imitate popular NFT projects.
Users should rely only on official project channels for mint links and avoid clicking suspicious links shared through direct messages or unofficial social media accounts.
Mint the NFT and Confirm the Transaction
Once connected, eligible participants can begin the mint.
Typical mint steps include:
- Selecting the number of NFTs to mint
- Reviewing the total mint cost
- Checking gas fee estimates
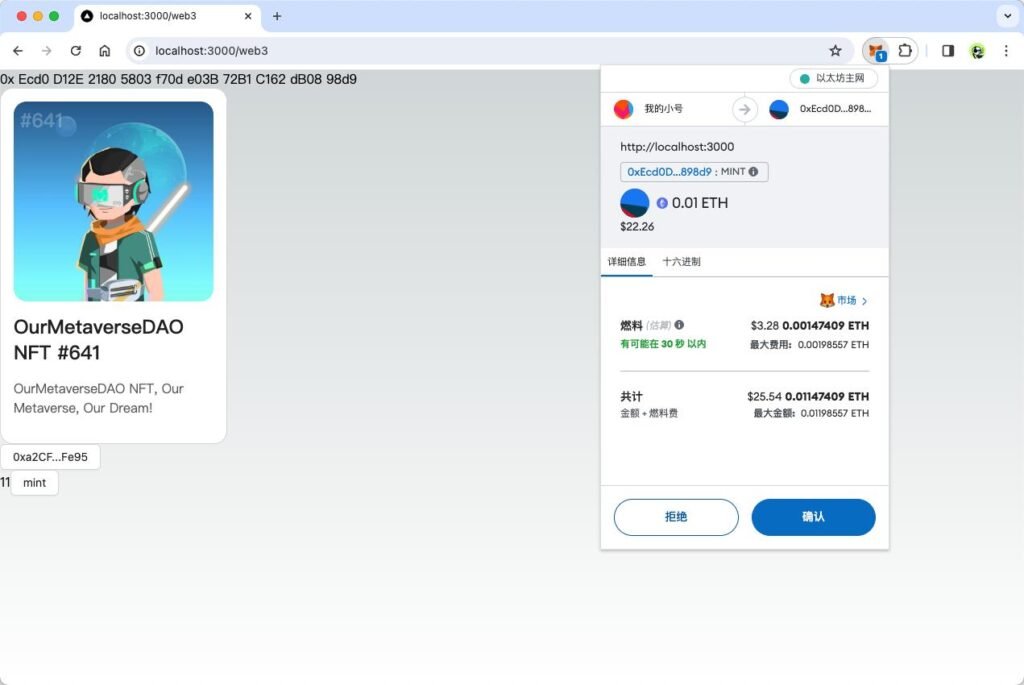
- Approving the wallet transaction
- Waiting for blockchain confirmation
The wallet displays transaction details before submission, including gas fees and total ETH cost.
After approval, the transaction is broadcast to Ethereum and processed by the network.
Transaction times vary depending on blockchain congestion.
Check NFT Delivery and Storage
After a successful mint, the NFT usually appears in the connected wallet or associated marketplace profile.
Buyers often view minted NFTs on platforms such as OpenSea after blockchain confirmation.
Best practices for protecting NFTs include:
- Using hardware wallets
- Avoiding suspicious wallet approvals
- Ignoring unknown airdrops or links
- Keeping recovery phrases offline
Good wallet security helps reduce theft and phishing risks.
Minting Moonbirds involved preparing an Ethereum wallet, funding it with ETH, accessing the official mint page, and confirming an on-chain transaction at a mint price of approximately 2.5 ETH per NFT. While the process may seem straightforward, popular NFT launches often involve intense competition, high gas fees, and security risks.
Before participating in any NFT mint, always verify official mint details, research independently, and understand the technical and financial risks involved. As always, Do Your Own Research (DYOR).
[…] NFTs are primarily traded on NFT marketplaces that support Ethereum-based […]